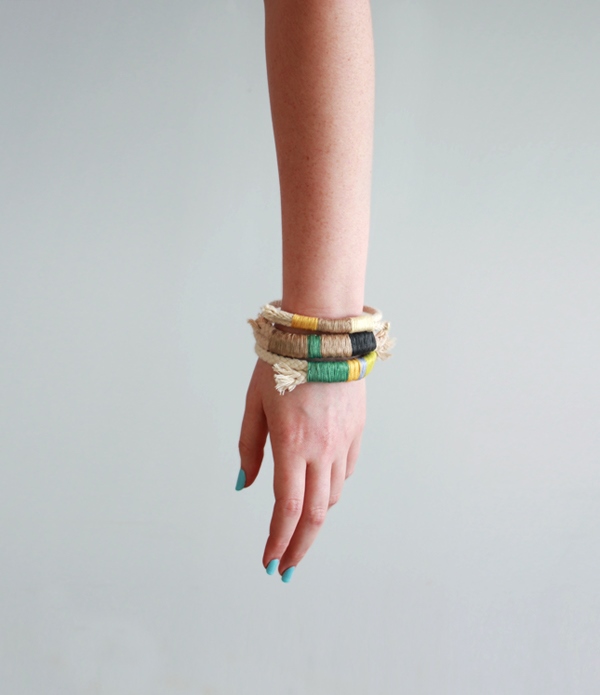
Summer is on its way and it will be the best season to rock nautical inspired accessories. This rope bracelet inevitably reminds me of the beach vacations and I love the way it looks. It’s so cute and affordable, you can make it in minutes and wear it with pretty much anything! Here’s what you...
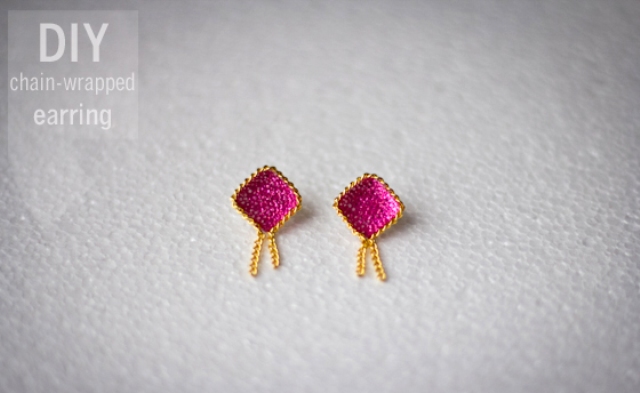
Cool DIY Chain-Wrapped Earrings
Choose a button shape for these earrings (round, square, etc.) and start to create! You’ll need 2 flat-back buttons, 2 gold chains, 2 gold earring posts, 2 gold earring backs, glue and toothpicks. First add a drop of glue on the flat surface side of each of the earring posts. Then press the earring post...
Gentle DIY Floral Crown For Spring
Flowers are the most popular things that associate with spring! Do you agree with us? So let’s add them to your spring look! You’ll need 20 to 30 flowers with stems (daisies, wildflowers, roses, baby’s breath), a bit of leafy greenery, green cloth floral wire, green floral tape and thin green floral wire. First of...
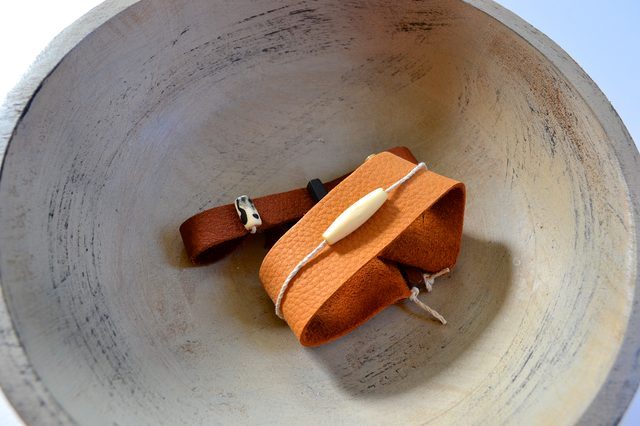
Simple DIY Faux Leather Cuff For Men
Men’s accessories should be simple, cool and of course show their personality, and this is one of them. You’ll need faux leather, hemp cord, assorted beads, straight edge, small screw driver and scissors. First cut a piece of the faux leather in a straight line. Using the small screwdriver, make a small hole about 1/8...
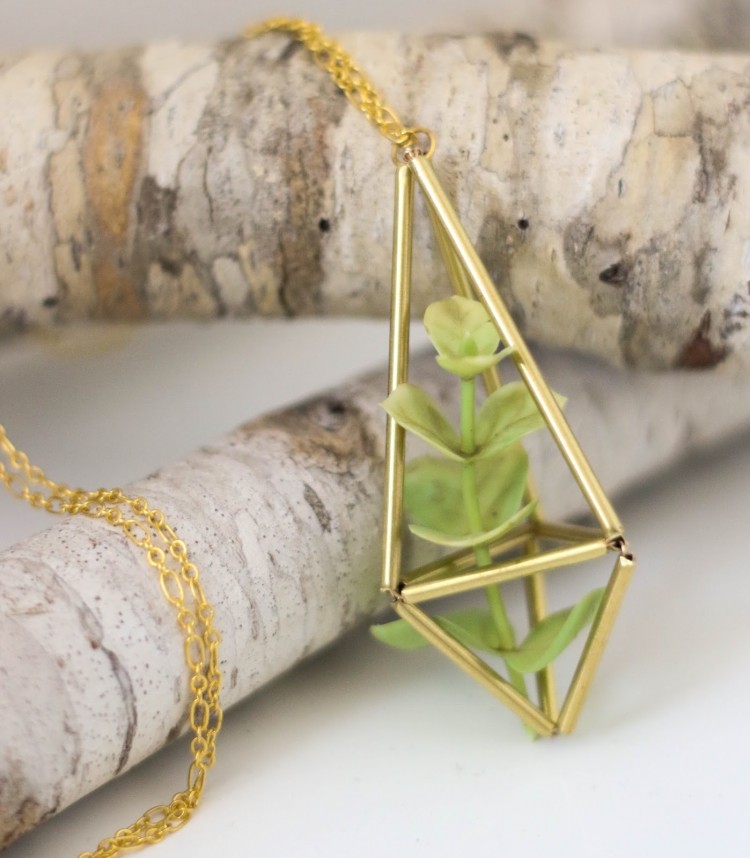
DIY Brass Himmeli Succulent Necklace
This unique necklace is pretty easy to make and it’s a real symbol of the coming spring as it contains a succulent! Prepare brass tubing appx. 1/8″ in diameter and 12″ long, thin gold wire, gold jump rings and chain to make the necklace your desired length, a piece of faux succulent or a small...
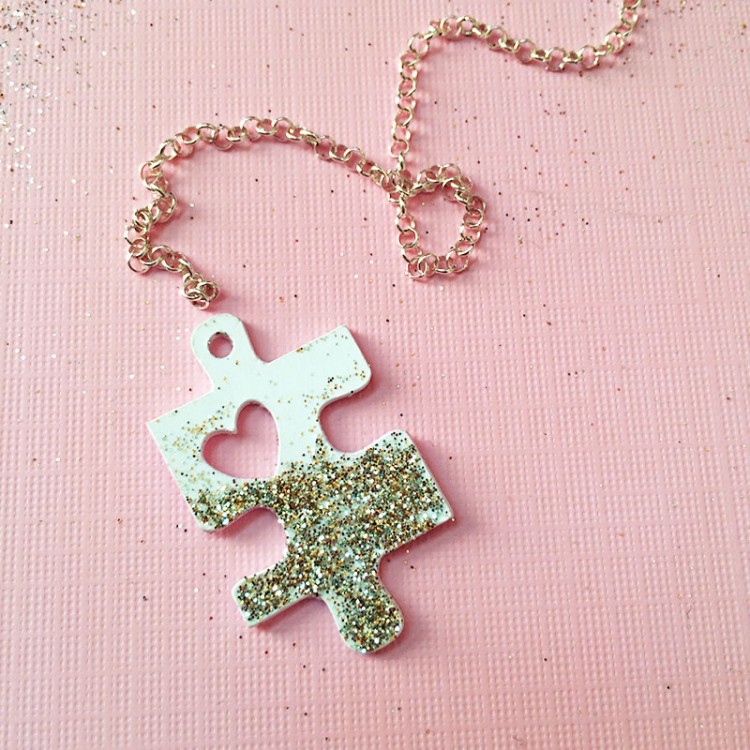
DIY Puzzle Piece With A Heart Necklace
This necklace is awesome for Valentine’s Day and at any other time if you fell in love! Prepare Cricut Explore Cutting Machine, Cricut Design Space™ software, Puzzle Piece Necklace project, 12″ x 12″ StandardGrip Cricut® mat, white cardstock, glue or Mod Podge, glitter, necklace chain. Print and cut puzzle piece following on screen instructions. Repeat...
DIY Statement Ornate Faux Leather Earrings
These leather earrings are realy to make a statement! To make them you’ll need Silhouette Deep Cut Blade, Silhouette Curio, Silhouette Curio Base + Cutting Mat, faux leather, painter’s tape, scissors, earring hooks, jump rings, jewelry pliers and a template. Cut a piece of your faux leather material. Back your leather piece with painter’s tape...
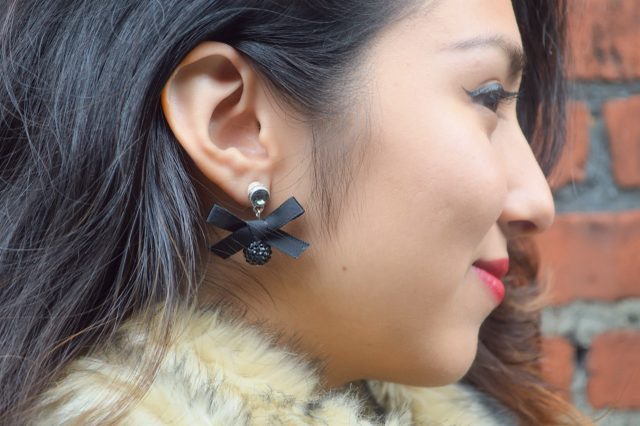
Elegant DIY Bow And Crystal Drop Earrings
These earrings are great for special events, for example, a dinner party with your friends or girl’s night out. You’ll need head pins, round crystal beads, 1/4-inch wide ribbon (16 inches), scissors, jewelry glue, jewelry pliers, earring stud posts and crystal charms. Add a round crystal bead to each head pin. Cut an 8-inch strand...
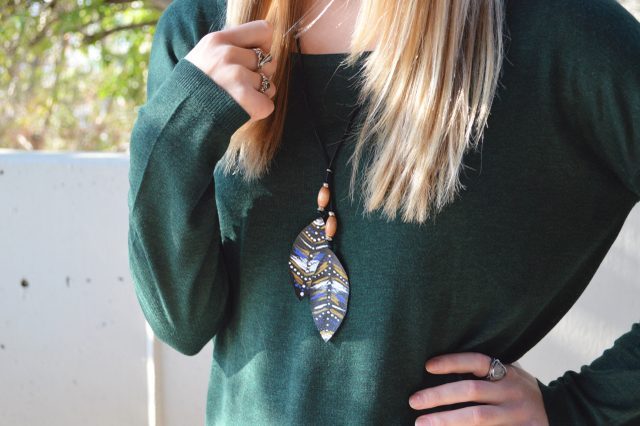
Awesome DIY Leather Feather Lariat Necklace
This necklace is a beautiful accessory for every monophonic pullover or shirt! Let’s make it. You’ll need leather or faux leather, jewelry glue, leather cord (1/8-inch thick), beads (2), 6mm jump rings (13), sharp scissors, jewelry pliers, toothpicks and acrylic paints. Cut out two leather ovals; each one should measure two to three inches long. Trim...
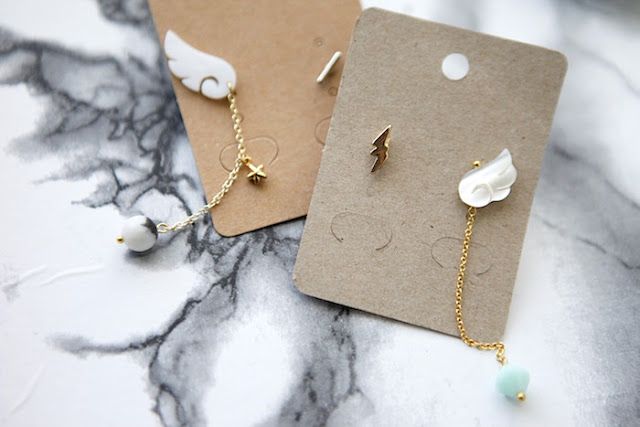
DIY One-Sided Earring For A Trendy Mismatched Look
Mismatched earrings are among the latest trends, many celebrities rock them. Let’s follow trends and make a couple! Prepare studs, chain, headpins, beads, jumprings and glue. First, you’re going to glue your bead to the stud needle, then lay out your design. Slide the chain onto the jumpring and attach it to the wing. Then,...
